

Since we had a lot of taubmans sea bubble paint leftover from the bathroom and nursery, I decided to use it in the laundry too. It is such a calming, light, fresh colour that I could see it working well.
We began by removing the sunflower tiles (don't get me wrong, I like sunflowers but these just weren't working for me). Once they were removed it was clear that the wall needed a heck of a lot of patching and cleaning before it was ready to paint. In fact the whole laundry demanded a deep and through clean. Once painted the room was starting to look a lot better.
We then used caulk to fill in the gaps in the laundry bench and cut out a shelf in the underneath cabinet so the laundry had somewhere to store a washing hamper full of dirty clothes.

The blue trough looked terrible with the new walls so it was painted in two coats of enamel white paint and looks like a completely different trough.
The laundry was then ready for a little styling and I added a few thrifted green tins as well as painting my old peg bucket the same white colour as the trough ( it was originally a dark blue).
The ironing board was mounted on the laundry room door using a cheap hanger from mitre 10 and this is great for keeping it out of the way.


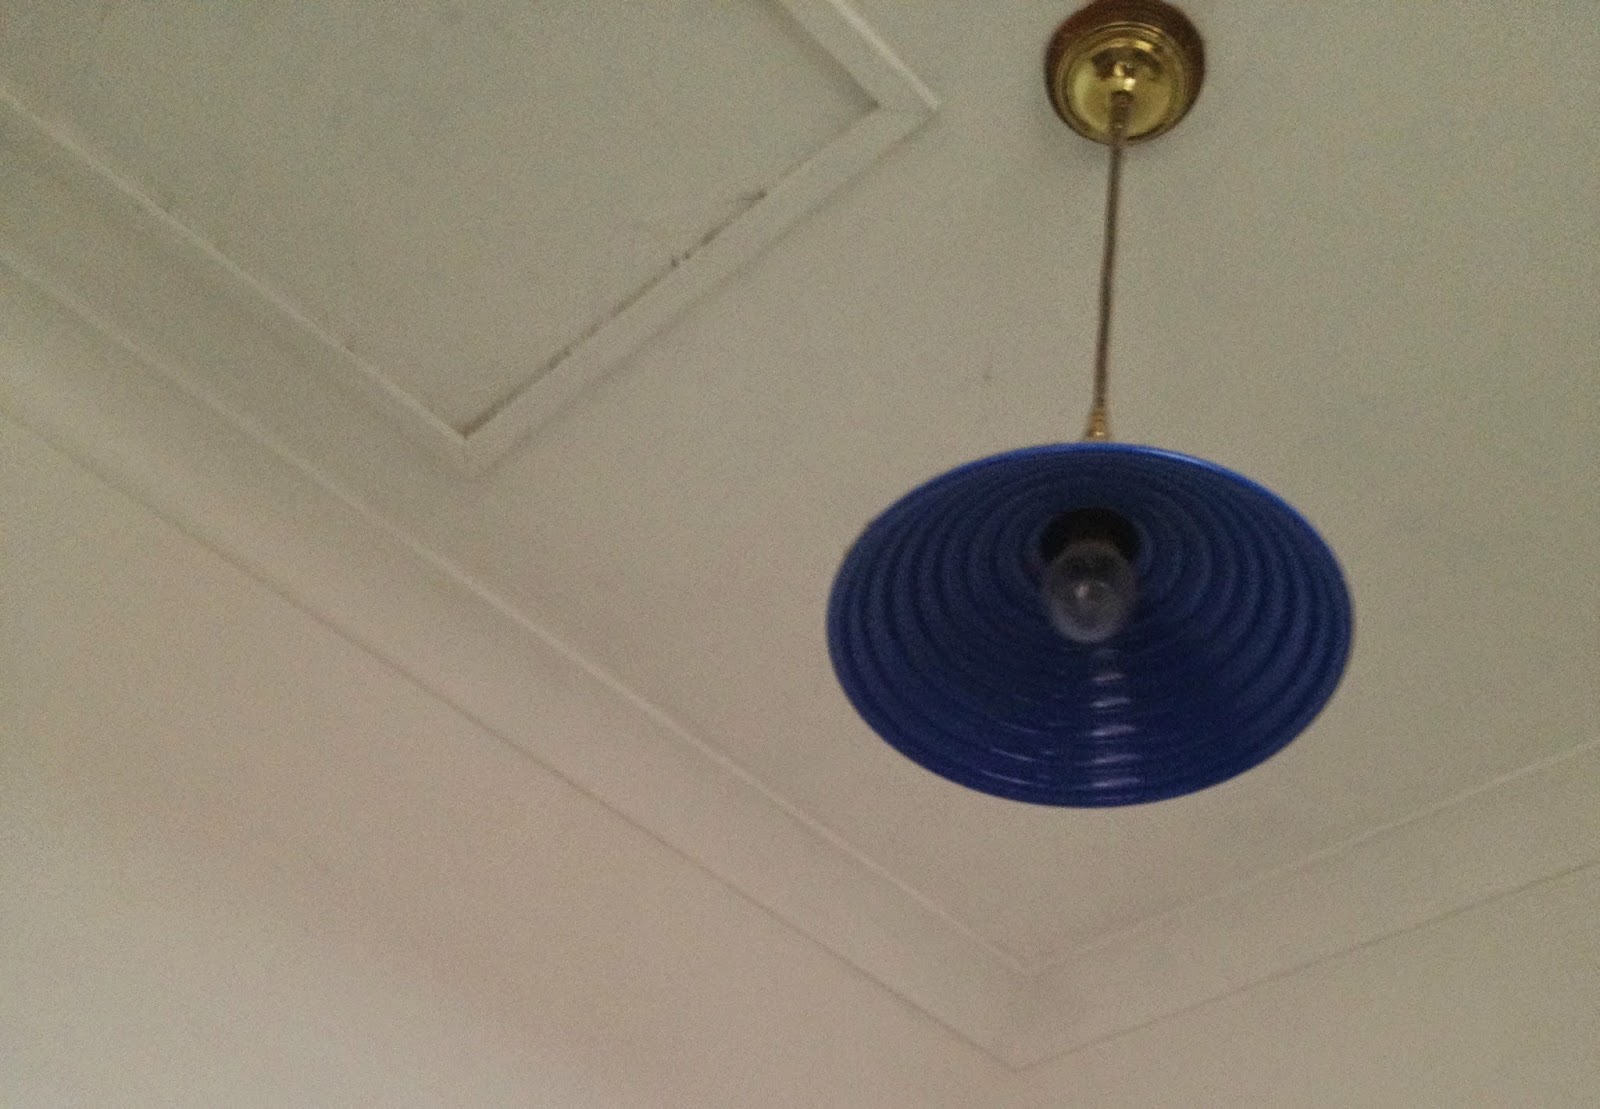
 We also changed the lighting which greatly affects the feel of the room. While the existing blue pennant was quite industrial and funky, the blue was really clashing with the newly painted seabubble walls. I bought a lampshade on sale and just love how the new lamp shade casts web like shadows all over the walls.
We began by removing the sunflower tiles (don't get me wrong, I like sunflowers but these just weren't working for me). Once they were removed it was clear that the wall needed a heck of a lot of patching and cleaning before it was ready to paint. In fact the whole laundry demanded a deep and through clean. Once painted the room was starting to look a lot better.
We then used caulk to fill in the gaps in the laundry bench and cut out a shelf in the underneath cabinet so the laundry had somewhere to store a washing hamper full of dirty clothes.
The blue trough looked terrible with the new walls so it was painted in two coats of enamel white paint and looks like a completely different trough.
The laundry was then ready for a little styling and I added a few thrifted green tins as well as painting my old peg bucket the same white colour as the trough ( it was originally a dark blue).
The ironing board was mounted on the laundry room door using a cheap hanger from mitre 10 and this is great for keeping it out of the way.
 |
| before |


Future ideas:
-Add some more artwork.
-Add some more artwork.
- Look at cabinet options for above the machine/trough
- Possibly buy a dryer (a baby is going to make a lot of extra washing)
-Maybe one day add a toilet to the room so our house has a second toilet.
Washing just got a whole lot more enjoyable :)
-Maybe one day add a toilet to the room so our house has a second toilet.
Washing just got a whole lot more enjoyable :)
Lisa x
Paint sure can make a huge difference and can make a room look much bigger and less cluttered!
ReplyDelete